WFH: Adding a Small WorkStation to the Living Room
Studio Kardum’s custom living room Work From Home set up
My friend and interior designer Christine of Studio Kardum showed me her new home office set up the other day and I begged her to take some photos to share it with you all, and she did! Christine lives in a small apartment (450 square feet!) in Vancouver and recently found her co-working studio closing (our beloved The Aviary). She needed a home office at least until she can find a new studio space and was guided by the light in her apartment to choose the brightest corner for her new small desk.
Counterintuitively she put her desk in her living room! By carefully considering the dimensions and materials, she has managed to add a workstation to her main living space that is still calming and beautiful. Quite a feat if you ask me! Below Christine breaks down how and why she designed this special space using plywood, an existing cabinet and a handy carpenter Dad ;). I’ll leave you with Christine…
Can you tell us about the design and construction of this set up?
I decided I wanted to have a nice area where I could work comfortably and have it also look good when not working - so it doesn't feel, or look, like a work desk 24/7. And, a biggy was to also hide the cords!
I was scared that it would look too 'screen' heavy with both a tv and desktop so I sketched it up first to see how it could look and then decided to go for it. I made it in two pieces so that , worse case, if it didn't look good, I could put the desk somewhere else (ed note. It looks so good! No need to move the desk anytime soon!).
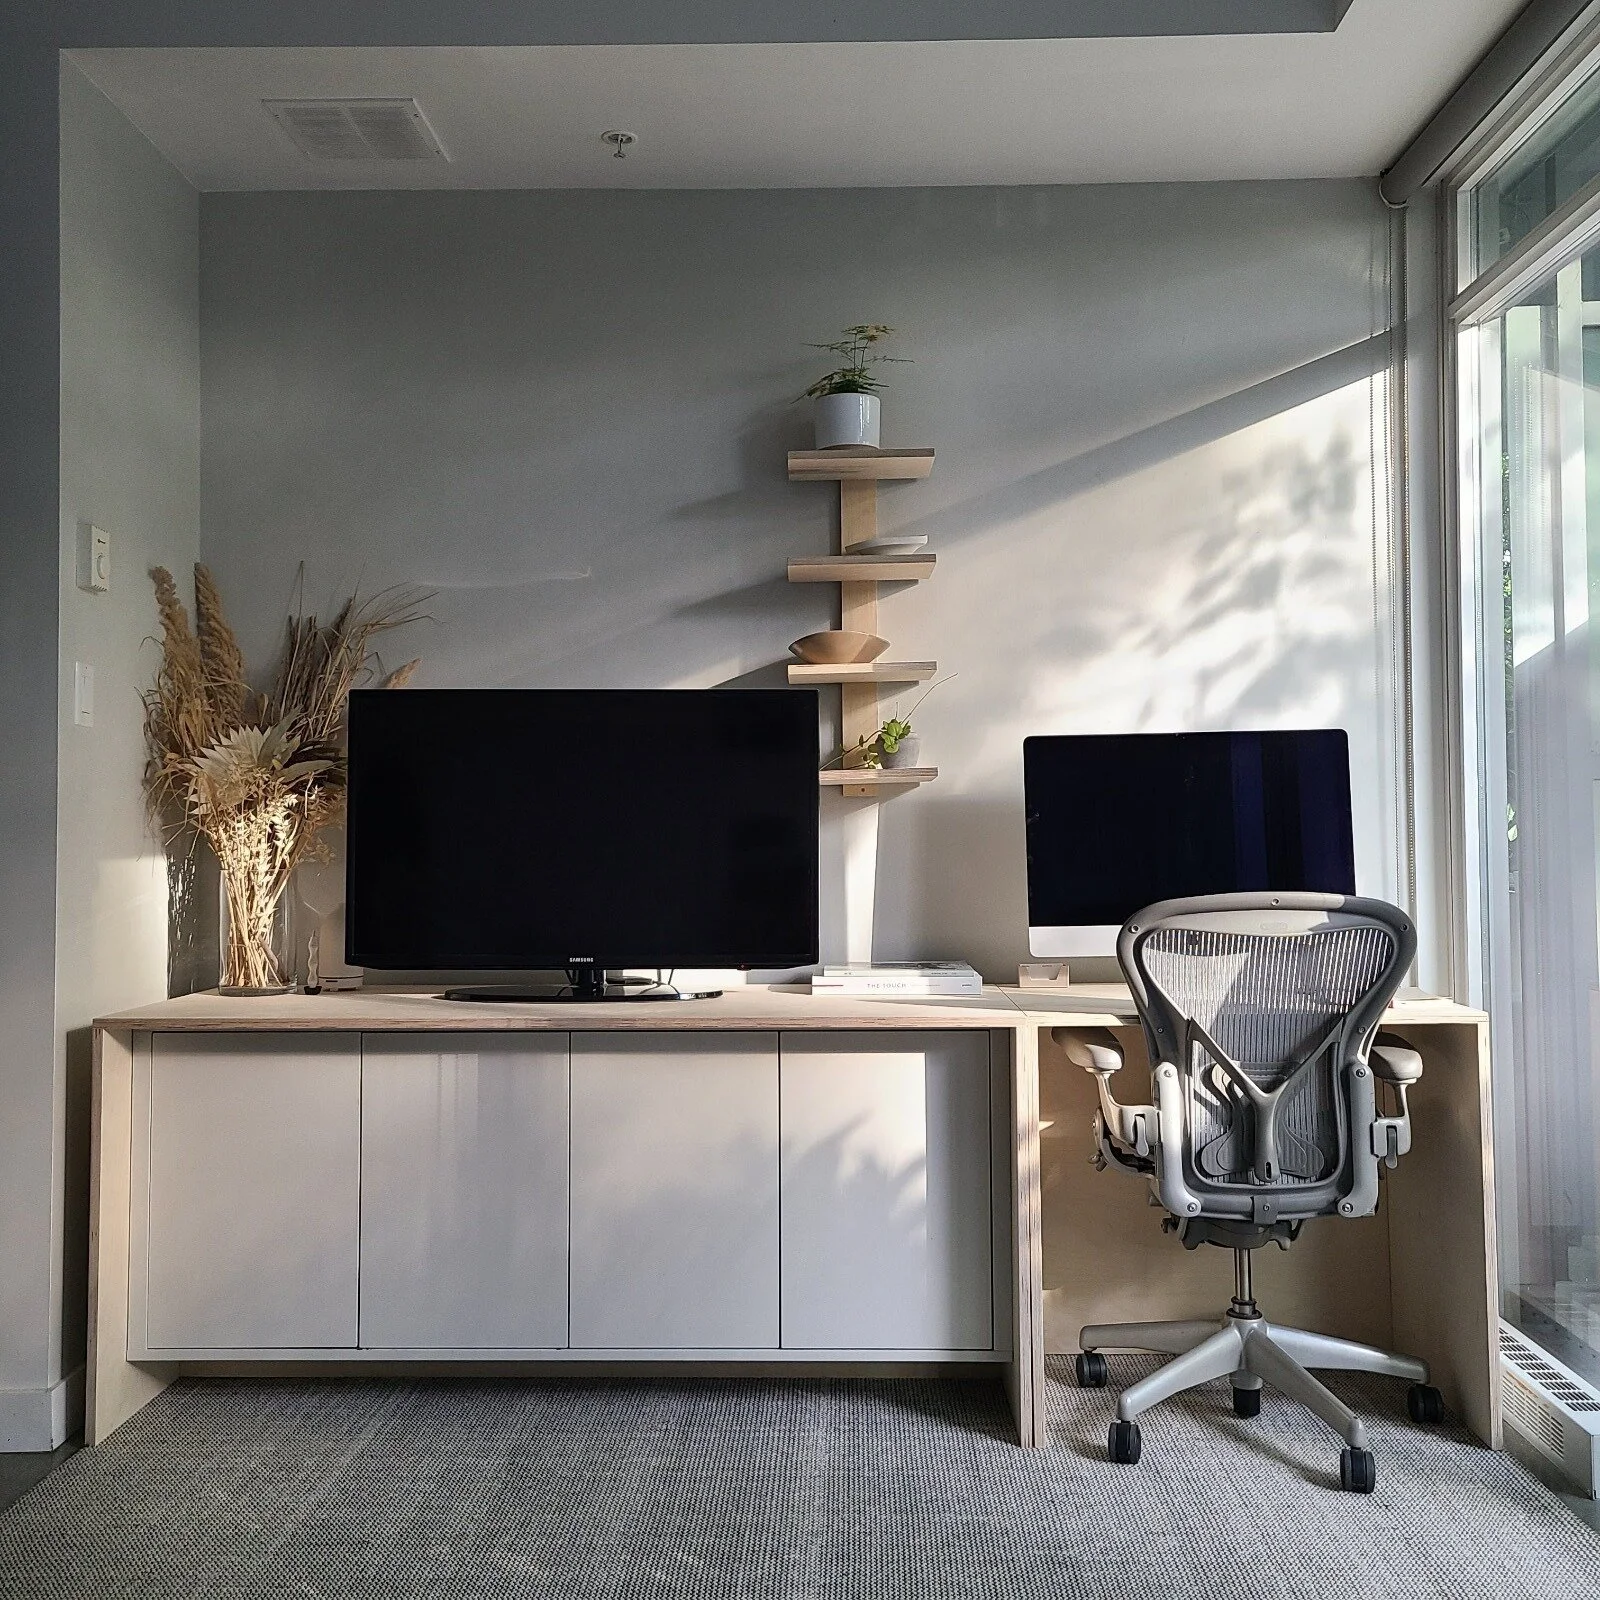
Both units are freestanding, 3/4" birch ply, 24" deep and 29" high. We clad the existing cabinet in Birch Plywood and then matched the height dimension to make the desk. Both sections have plywood under the backside of the top (that go down to the floor) and are set in about 3". This is so that the units can sit quite close the wall and I would still have sufficient room on the backside to plug in all of my electrical (and have room for the baseboard). I only have one plug, and cable outlet in behind so I have an extension cord and modem plugged in and it's all nicely hidden (in a felt pouch hanging down the backside of the desk). Being in a concrete building I didn't have the option to raise, or move the outlets (would have liked to have wall mounted tv).
The cabinet is from the stockholm collection from IKEA. I had it beside my dining table for years and decided to repurpose it. I had it painted white a long time ago. It works really well to store all of my supplies, printers, etc.
The wall looks especially warm, did you do a special treatment to it?
The finish on the wall is three coats of lime paint, Color Atelier in Roman. I bought a gallon but I only used about a quarter to get the finish I wanted. I will now use it for the rest of my house. The overall area that I covered is about 80 sq.ft. This was the perfect finishing touch for the look I was going for. It's such a beautiful, subtle texture and when the light and shadows move on it, I'm in heaven!

The desk set up for guests or when work needs to be turned off.
Do you mind sharing a bit about the costs to create this set up?
Cost was $260 for two sheets of 4'x8' birch ply, good both sides. This ply is good for furniture making, it's strong, it's clean and smooth to the finish. Because I'm in the City and don't have access to a table saw, I had windsor plywood cut it for me. I had to purchase a finishing saw for them to do it but they did. With cutting and the saw, It was about another $100. I mapped out all of the cuts on two 4x8 sheets so that they knew exactly what to cut. The units are pinned and glued at the corners. Because of the backing on the underside this was enough stability.
It took about two days to install (there were adjustments to be made during install) and about another 12-16 hours to plan and coordinate all the work. (ed. note: I love that you share the hours that it took to plan and coordinate this project. I think we often underestimate how much work goes into custom designs. I love to hear that even for a professional like you that it takes time to get it right.)

Custom birch ply shelf.

Custom Birch Ply Bench Seat
I love the custom bench too. What is your plan for that bench?
I wanted to have an option when I don’t want to have my ergonomic office chair in my living room. The bench is more cohesive in the space and also provides additional seating for friends. It can also double as a small coffee or side table.
Thank you so much Christine for sharing this clever home office. Many of us continue to work from home, at least part time. I believe this set up will help us be inspired to manage our cords, paper and find the light in our own spaces. You can find Christine on Instagram or her Website.

Inside the cabinet.

Cozy corner